Rectangular Marquee Tool
Click, paste or drag and drop files to edit
Select an image file jpg, png, webp

Drag and drop
OR
How to Use the Rectangular Marquee Tool
Upload an image
Use the form above to load an image. Click the 'Upload image' button, copy and paste or drag and drop an image into the uploader.
Settings
Use the tool options tab to set the desired mode of operation, aspect ratio, and increment step of the rectangular marquee.
Draw
Press, drag and release in the workspace to draw the rectangular selection..
Learn More About
the Rectangular Marquee Tool
On this page
1. About the Rectangular Marquee Tool
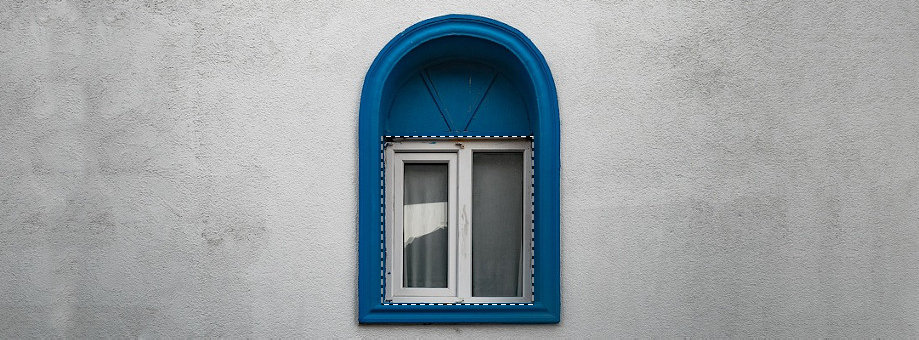
The rectangular marquee tool allows you to create rectangular selections in your image. This can be useful for selecting specific areas for editing or cropping. Using the rectangular marquee tool restricts your edits to a rectangular or square area in an image. If you brush the image or apply a filter with the selection active, the image outside the selection will not be affected. Upload an image from your computer and use the rectangular marquee tool to create selections as needed.
2. How the Rectangular Marquee Works
The rectangular marquee tool works by allowing you to click and drag to create a rectangular selection in your image. The selection can be adjusted by dragging the edges or corners, and it defines the area of the image that will be affected by subsequent edits.
2.1 Choosing the Rectangular Marquee Tool
To choose the rectangular marquee tool, look for the rectangular selection icon in the image editor toolbar. Click on it to activate the tool, and adjust the settings as needed to create rectangular selections effectively.
2.2 Creating a Rectangular Selection
To create a rectangular selection, click and drag on your image to define the area you want to select. The rectangular selection is formed by drawing from a starting corner point to the opposite diagonal corner point of the rectangular area you want to select. You can adjust the selection by dragging the edges or corners to resize it as needed.
2.3 Modifying the Selection
To modify an existing rectangular selection, click and drag the edges or corners of the selection to resize it. You can also move the entire selection by clicking inside the selection and dragging it to a new location within your image. This allows you to adjust the selected area as needed for your editing tasks.
Other tool options listed below modify how the rectanglular marquee tool behaves allowing you to customize the selection behavior to suit your editing needs.
-
Border
Changes the selection to a border outline of itself with a pixel width that is set by the user.
-
Expand
Expands the border of the selection area by a user set number of pixels.
-
Contract
Contracts the border of the selection area by a user set number of pixels.
3. Rectangular Marquee Tool Settings
-
Mode:
Determines how the current drawn selection will interact with the selection that is already present. This modes are as follows:
- New - replaces any selection with the new rectangular selection.
- Union (Add) - joins the new drawn rectangular selection with the selection that is already present.
- Subtract - Creates a selection by subtracting the drawn rectangular selection from the the selection already present.
- Aspect ratio - Set.
-
Aspect Ratio:
Sets the ratio restrictions of the dimensions of the rectangular marquee.
-
Step:
Determines the number of pixels to move the rectangular marquee when a keyboard arrow key is pressed.
